Creating Fun Faux Stitches with Zero-Waste Embroidered Florals
by Agnieszka Malyszek November 11, 2026

Key Takeaways
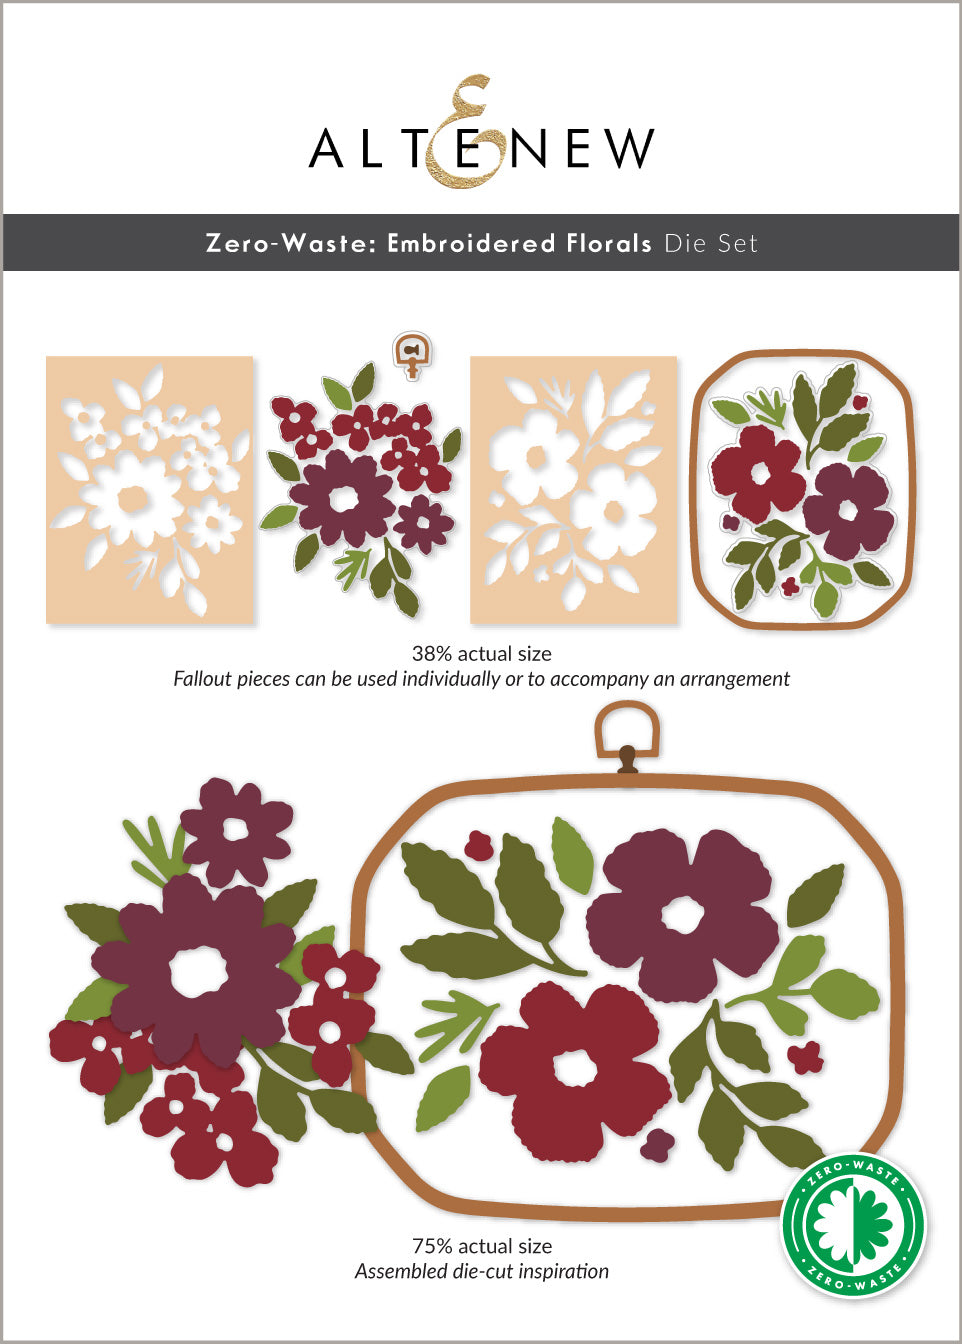
Zero-Waste Versatility: Using both positive and negative die-cut pieces maximizes your paper stock and generates zero scrap waste.
Handmade Texture Without Thread: Fine-point acrylic markers make it easy to draw simulated French knots and straight stitches directly onto paper die cuts.
Dimensional Framing: Mounting the finished floral arrangement inside a kraft paper embroidery hoop with foam tape creates realistic depth and shadow.
Hello, everyone! Aga here, and today I’m sharing a creative cardmaking project featuring the Zero-Waste Embroidered Florals Die Set.
This versatile die set combines two botanical designs inspired by the delicate texture of traditional hand-embroidered flowers. One of my favorite features of this set is that it cuts both the positive and negative pieces simultaneously. Because you can use every single cutout on your cards, you maximize your paper stash and eliminate scrap waste while opening up endless creative possibilities.

Did You Know?
Paper embroidery—often called parchment prick-and-stitch or string art—dates back to 18th-century Europe, where crafters pierced cardstock with needles and hand-stitched silk threads to create ornate greetings. Today, you can capture that exact vintage aesthetic in a fraction of the time simply by using pigment-rich acrylic markers to replicate straight stitches, running stitches, and French knots directly onto die-cut cardstock.
Die Cutting and Ink Blending Embroidered Florals
For today's card, I began by die cutting all the floral and leaf elements from heavyweight white cardstock. Starting with smooth white paper gives you a clean canvas that takes ink smoothly, allowing custom gradients and vivid color transitions across every petal.
To build a fresh, cheerful palette, I ink blended the individual die cuts using contrasting ink families:
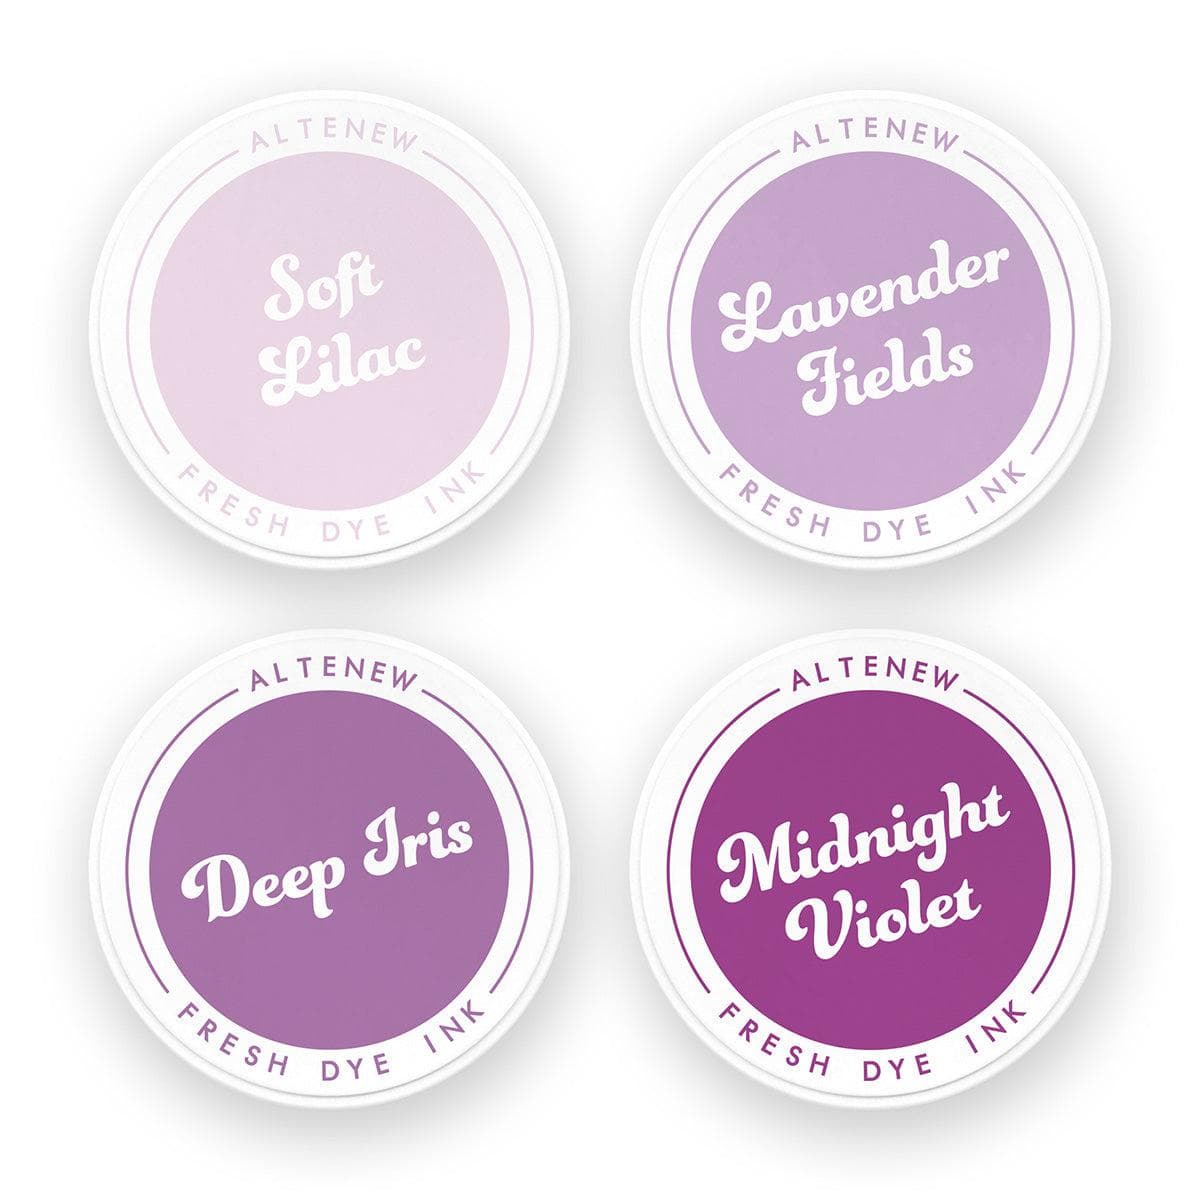
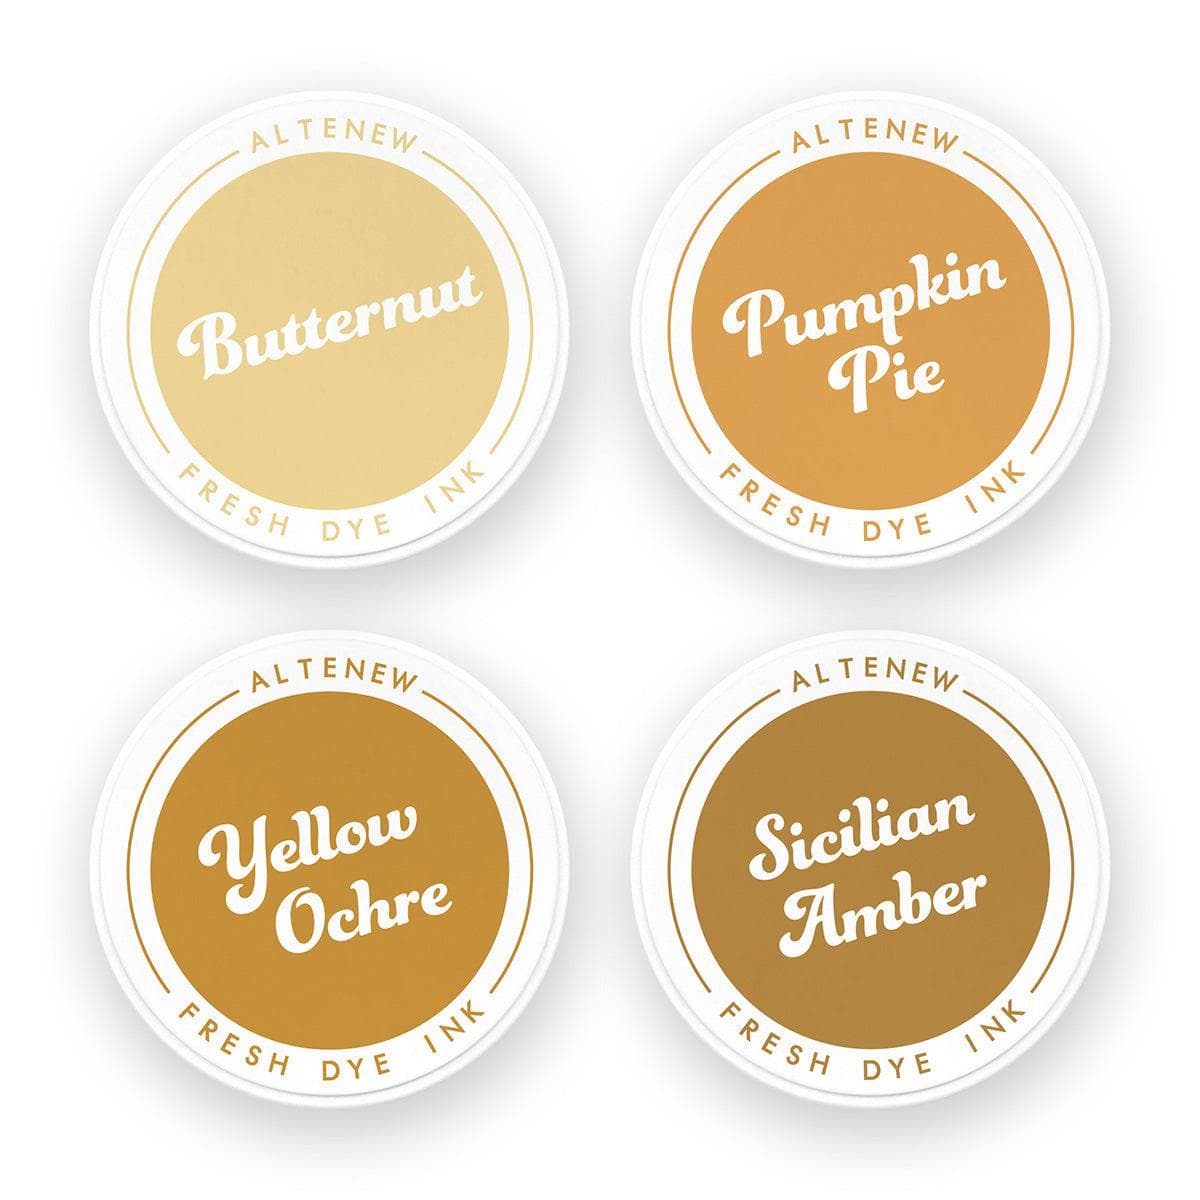
Floral Blooms: Ink blended with Mauve and Berrylicious (Dried Petals Fresh Dye Ink Set), Lavender Fields (Shades of Purple Fresh Dye Ink Set), and Pumpkin Pie (Fall Harvest Fresh Dye Ink Set).
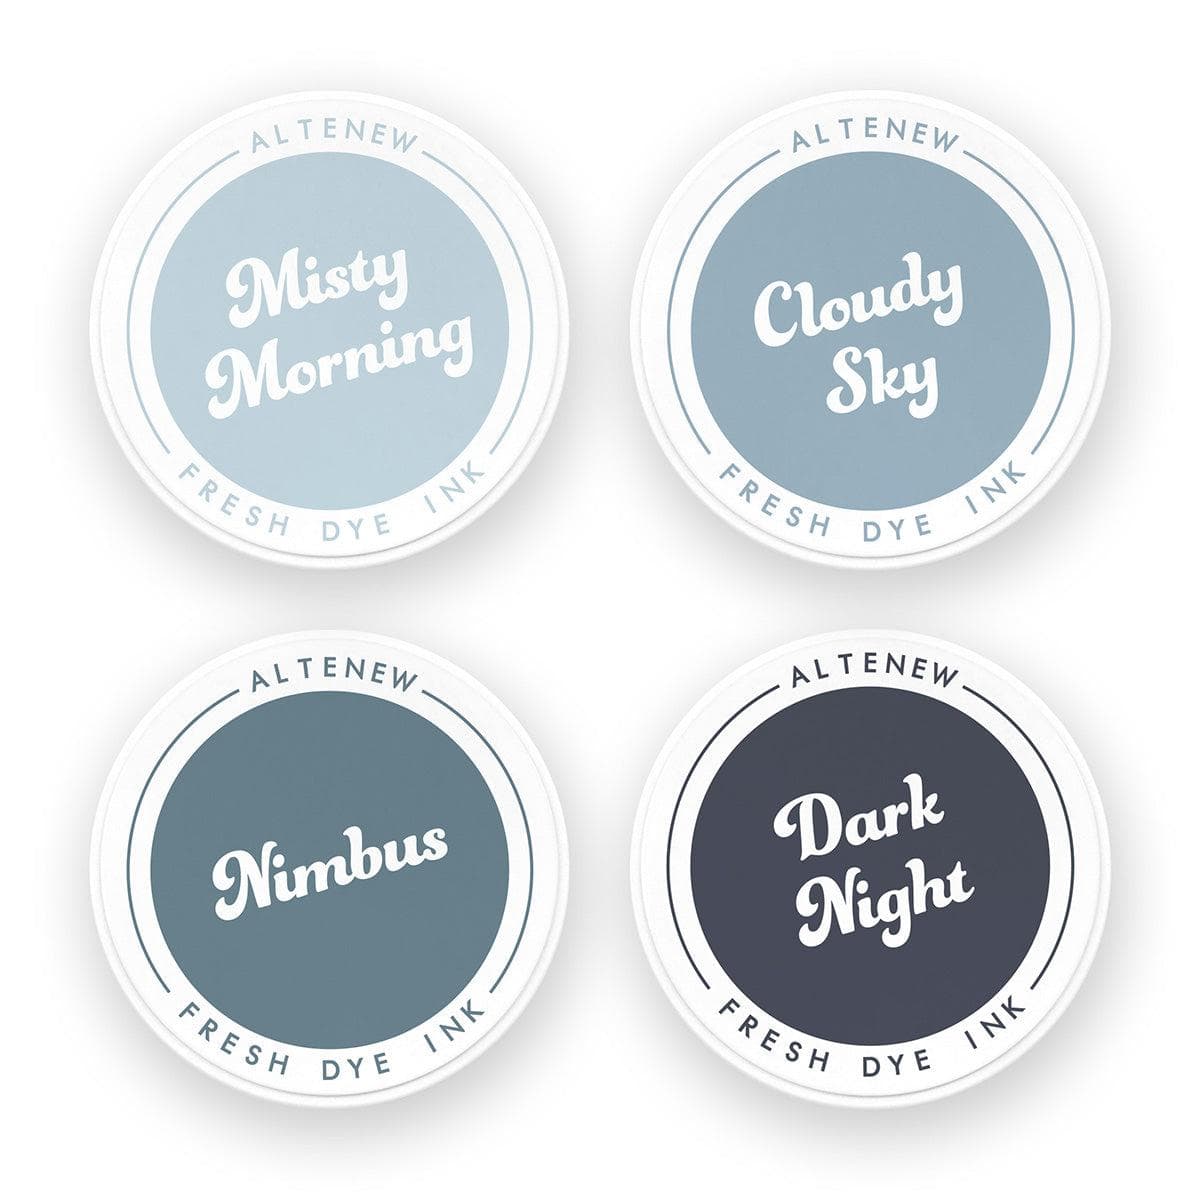
Foliage & Stems: Blended using Olive, Moss, (Tropical Forest Fresh Dye Ink Set) and Cloudy Sky (Tranquility Fresh Dye Ink Set) to provide earthy, balanced undertones against the vivid petals.
Blending deeper tones near the base of each petal and lighter tones toward the edges naturally mimics the light and shadow found in variegated embroidery floss.

Adding Realistic Faux Stitches with Acrylic Markers
Once the ink blending was dry, it was time to add the needlework magic. Rather than piercing the cardstock with a needle and thread, I added faux stitching details using fine-point acrylic paint markers.
To complement the ink-blended base layers, I used markers in Fresh Lemon, Lavender Fields, Cotton Candy, Forest Fern, Shadow Creek, and opaque White.
How to Draw Faux Embroidery Stitches:
Running Stitches: Draw short, evenly spaced dashes along petal ridges and leaf veins to simulate thread passes.
French Knots: Add crisp, tiny dots clustered at the flower centers using opaque white or yellow markers to replicate textured knotwork.
Satin Stitch Accents: Sketch fine parallel lines running lengthwise down the flower petals to give the impression of dense, silky thread coverage.
The opaque acrylic ink sits cleanly on top of the dye ink without bleeding, giving the die-cut flowers an authentic, tactile handmade feel.

Assembling the Paper Embroidery Hoop Card
To complete the needlework theme, I die cut an embroidery hoop frame from kraft cardstock to simulate natural wood grain.
I arranged the ink-blended, faux-stitched blossoms inside the hoop opening, securing them with liquid adhesive. To add realistic depth and visual separation, I backed the outer kraft hoop frame with dimensional foam tape before adhering it over the arrangement.
Finally, I finished the card by stamping a crisp greeting from the Elegant Sayings bundle.
These tiny pen-and-ink details pull the botanical elements together, turning flat cardstock cutouts into realistic, miniature embroidered art pieces. I hope you give this faux stitching technique a try on your next project—it is amazing how a few simple pen strokes can make such a dramatic difference!
Thank you so much for stopping by today!


Save up to 50% off Better Press Plates & Hot Foil Plates Collection from November 11, 2026 at 12:01 AM EST until November 13, 2026 at 11:59 PM EST. Shop here: https://oltonew.shop/collections/press-foil-plates
Exclusions Apply.
|